
How to Roll a Joint (When You Can't Roll a Joint): Try This Easy Hack to Roll Perfect Joints Instantly

How to Roll a Joint: Struggling? Try this easy hack…introducing the Chopstick Method
Ever wondered how to roll a joint as effortlessly as others seem to? You’ve probably seen people whose fingers glide over the paper, quickly transforming ground green nuggets into a perfectly rolled joint. It’s like magic—watching them twist and tuck the paper so smoothly that the end result looks like it belongs in the World’s Most Picturesque Joint Museum.
And when they smoke it? The joint burns evenly withstands multiple passes and remains intact until the very last puff.
But if you’re struggling to figure out how to roll a joint that looks and smokes as well as theirs, you’re not alone. Despite learning from the best—friends who’ve patiently taught me their rolling techniques and tips—my fingers often fumble during the tucking phase. The paper bends, the weed spills out, and I’m left with a loose joint that’s barely smokable.
Sound familiar? Don’t worry—if you’re having trouble learning how to roll a joint, the Chopstick Method might be the solution you need.

How to Roll a Joint: A Step-by-Step Guide To The Chopstick Method
Rolling a joint can be a fun and satisfying way to enjoy cannabis. It may seem intimidating at first, but with practice and the right tools, you'll be able to roll a perfect joint like a pro. Here's a step-by-step guide to help you get started:
Gather Your Supplies
Before you begin, make sure you have the necessary supplies:
- Quality rolling papers
- Cannabis strain of your choice
- Cannabis grinder (optional)
- Joint tips, store-bought or homemade
2. Grind the Cannabis
If you're using a grinder, grind the cannabis until it's a consistent, fine texture. If you don't have a grinder, you can use your fingers or a spoon to break up the cannabis into smaller pieces.
3. Prepare the Rolling Paper
Hold the rolling paper between your thumb and index finger, and scoop some ground cannabis into it using a spoon or your fingers.
4. Shape the Joint
Press the paper into a crease that is slightly curved but not too tight. This will help ensure an even roll. If you're using a crutch (a wooden or plastic stick that helps you roll the joint evenly), insert it into the end of the rolling paper without the glue strip.
5. Roll the Joint
Roll the joint back and forth, tucking the paper into the cannabis as you go. Make sure not to overload the joint, as this can result in an uneven burn and weak flavor.
6. Seal the Joint
Once you've rolled the joint, moisten the glue on the rolling paper with your tongue and seal it by folding the sticky end tightly around the remainder of the joint.
Optional: Use a Filter Tip
If you're using a filter tip, fold it in half and insert it into the end of the rolling paper with the glue strip. Roll the filter tip downwards and press it down with your fingers to secure it in place.
7. Enjoy Your Joint
Once your joint is rolled and sealed, you can enjoy it with friends or on your own. Remember to always consume cannabis responsibly and be mindful of your surroundings.
If you're still struggling with rolling your own joints, there are tools available that can make the process easier, such as manual joint rollers or curved rolling papers. With practice and the right tools, you'll be able to roll a perfect joint like a pre-roll.
If you still can’t roll a joint or you just want to try an easier method, you need the chopstick method in your life.
You’ll need:
1 rolling paper (preferably natural papers)
1 round* chopstick
*very important that this chopstick not be a square!

Here’s the method (and keep scrolling for a video of this tutorial in action).
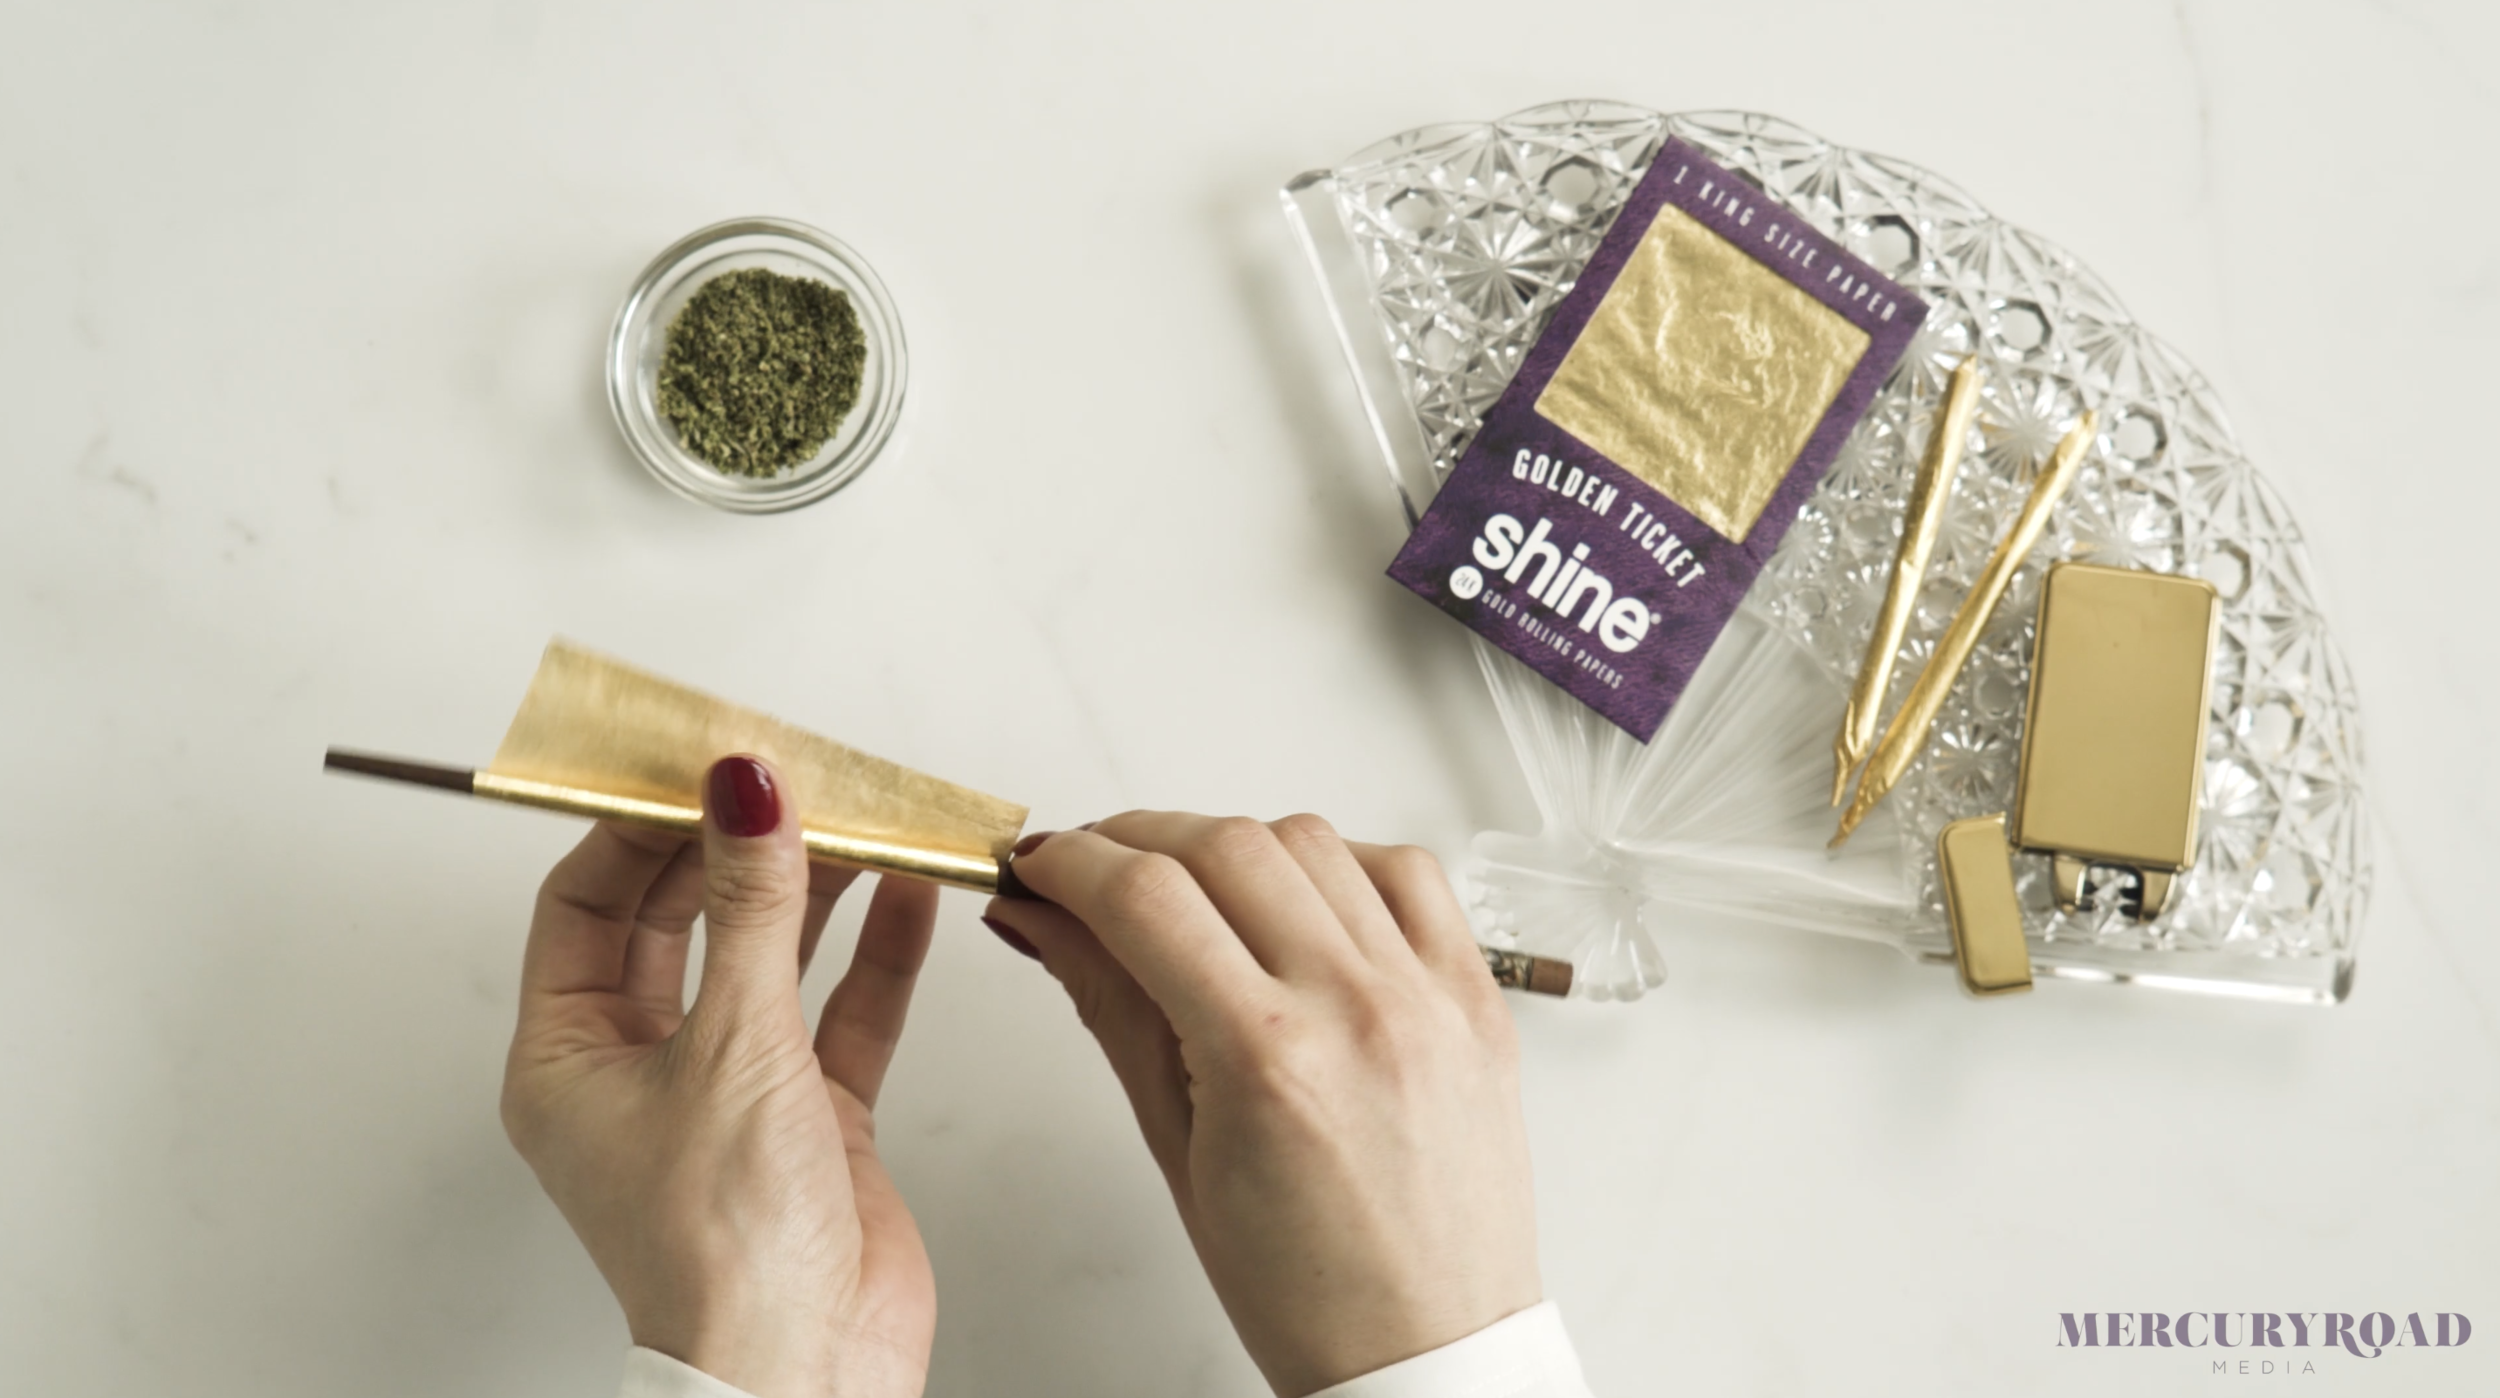
1. Wrap your paper around the chopstick, glue-side facing up.

2. Lick the glue, keeping the paper stabilized.

3. Roll the chopstick away from you, wrapping the paper around it.
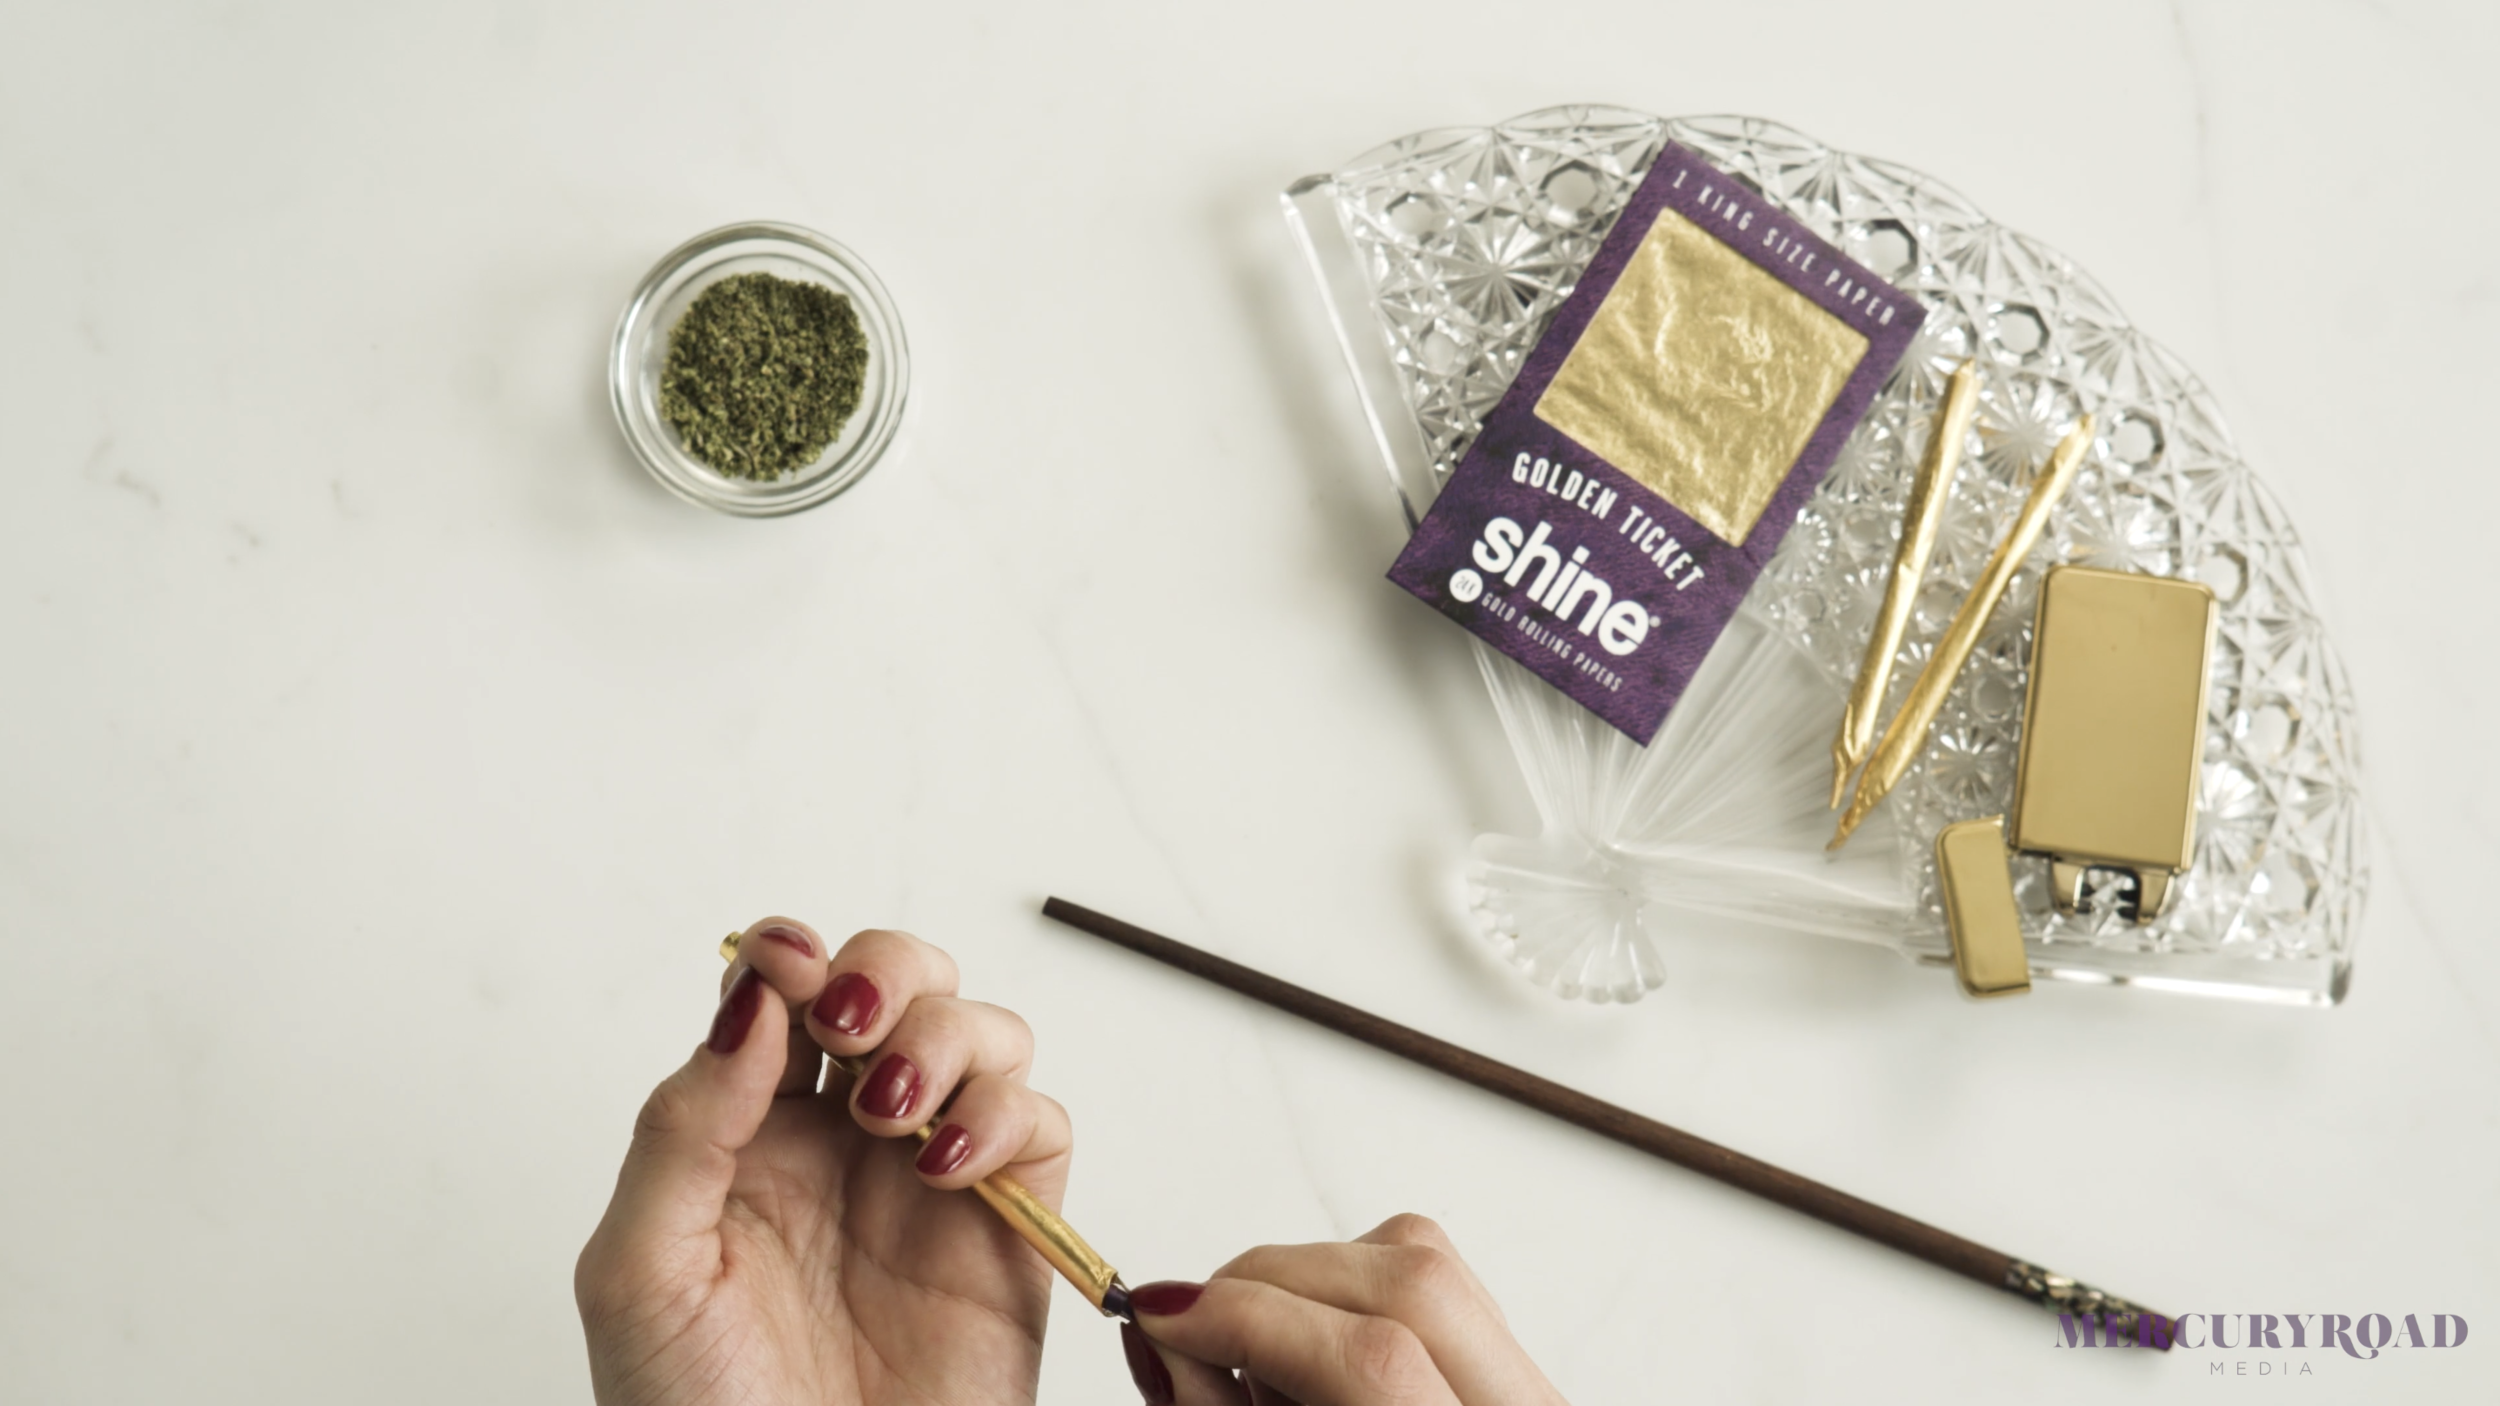
4. When it’s all the way around (but not too tight) lick the edge and press your hand around the chopstick, wiggle the rolled paper out of the chopstick

5. Stick a filter in the larger end and use the chopstick to press it in
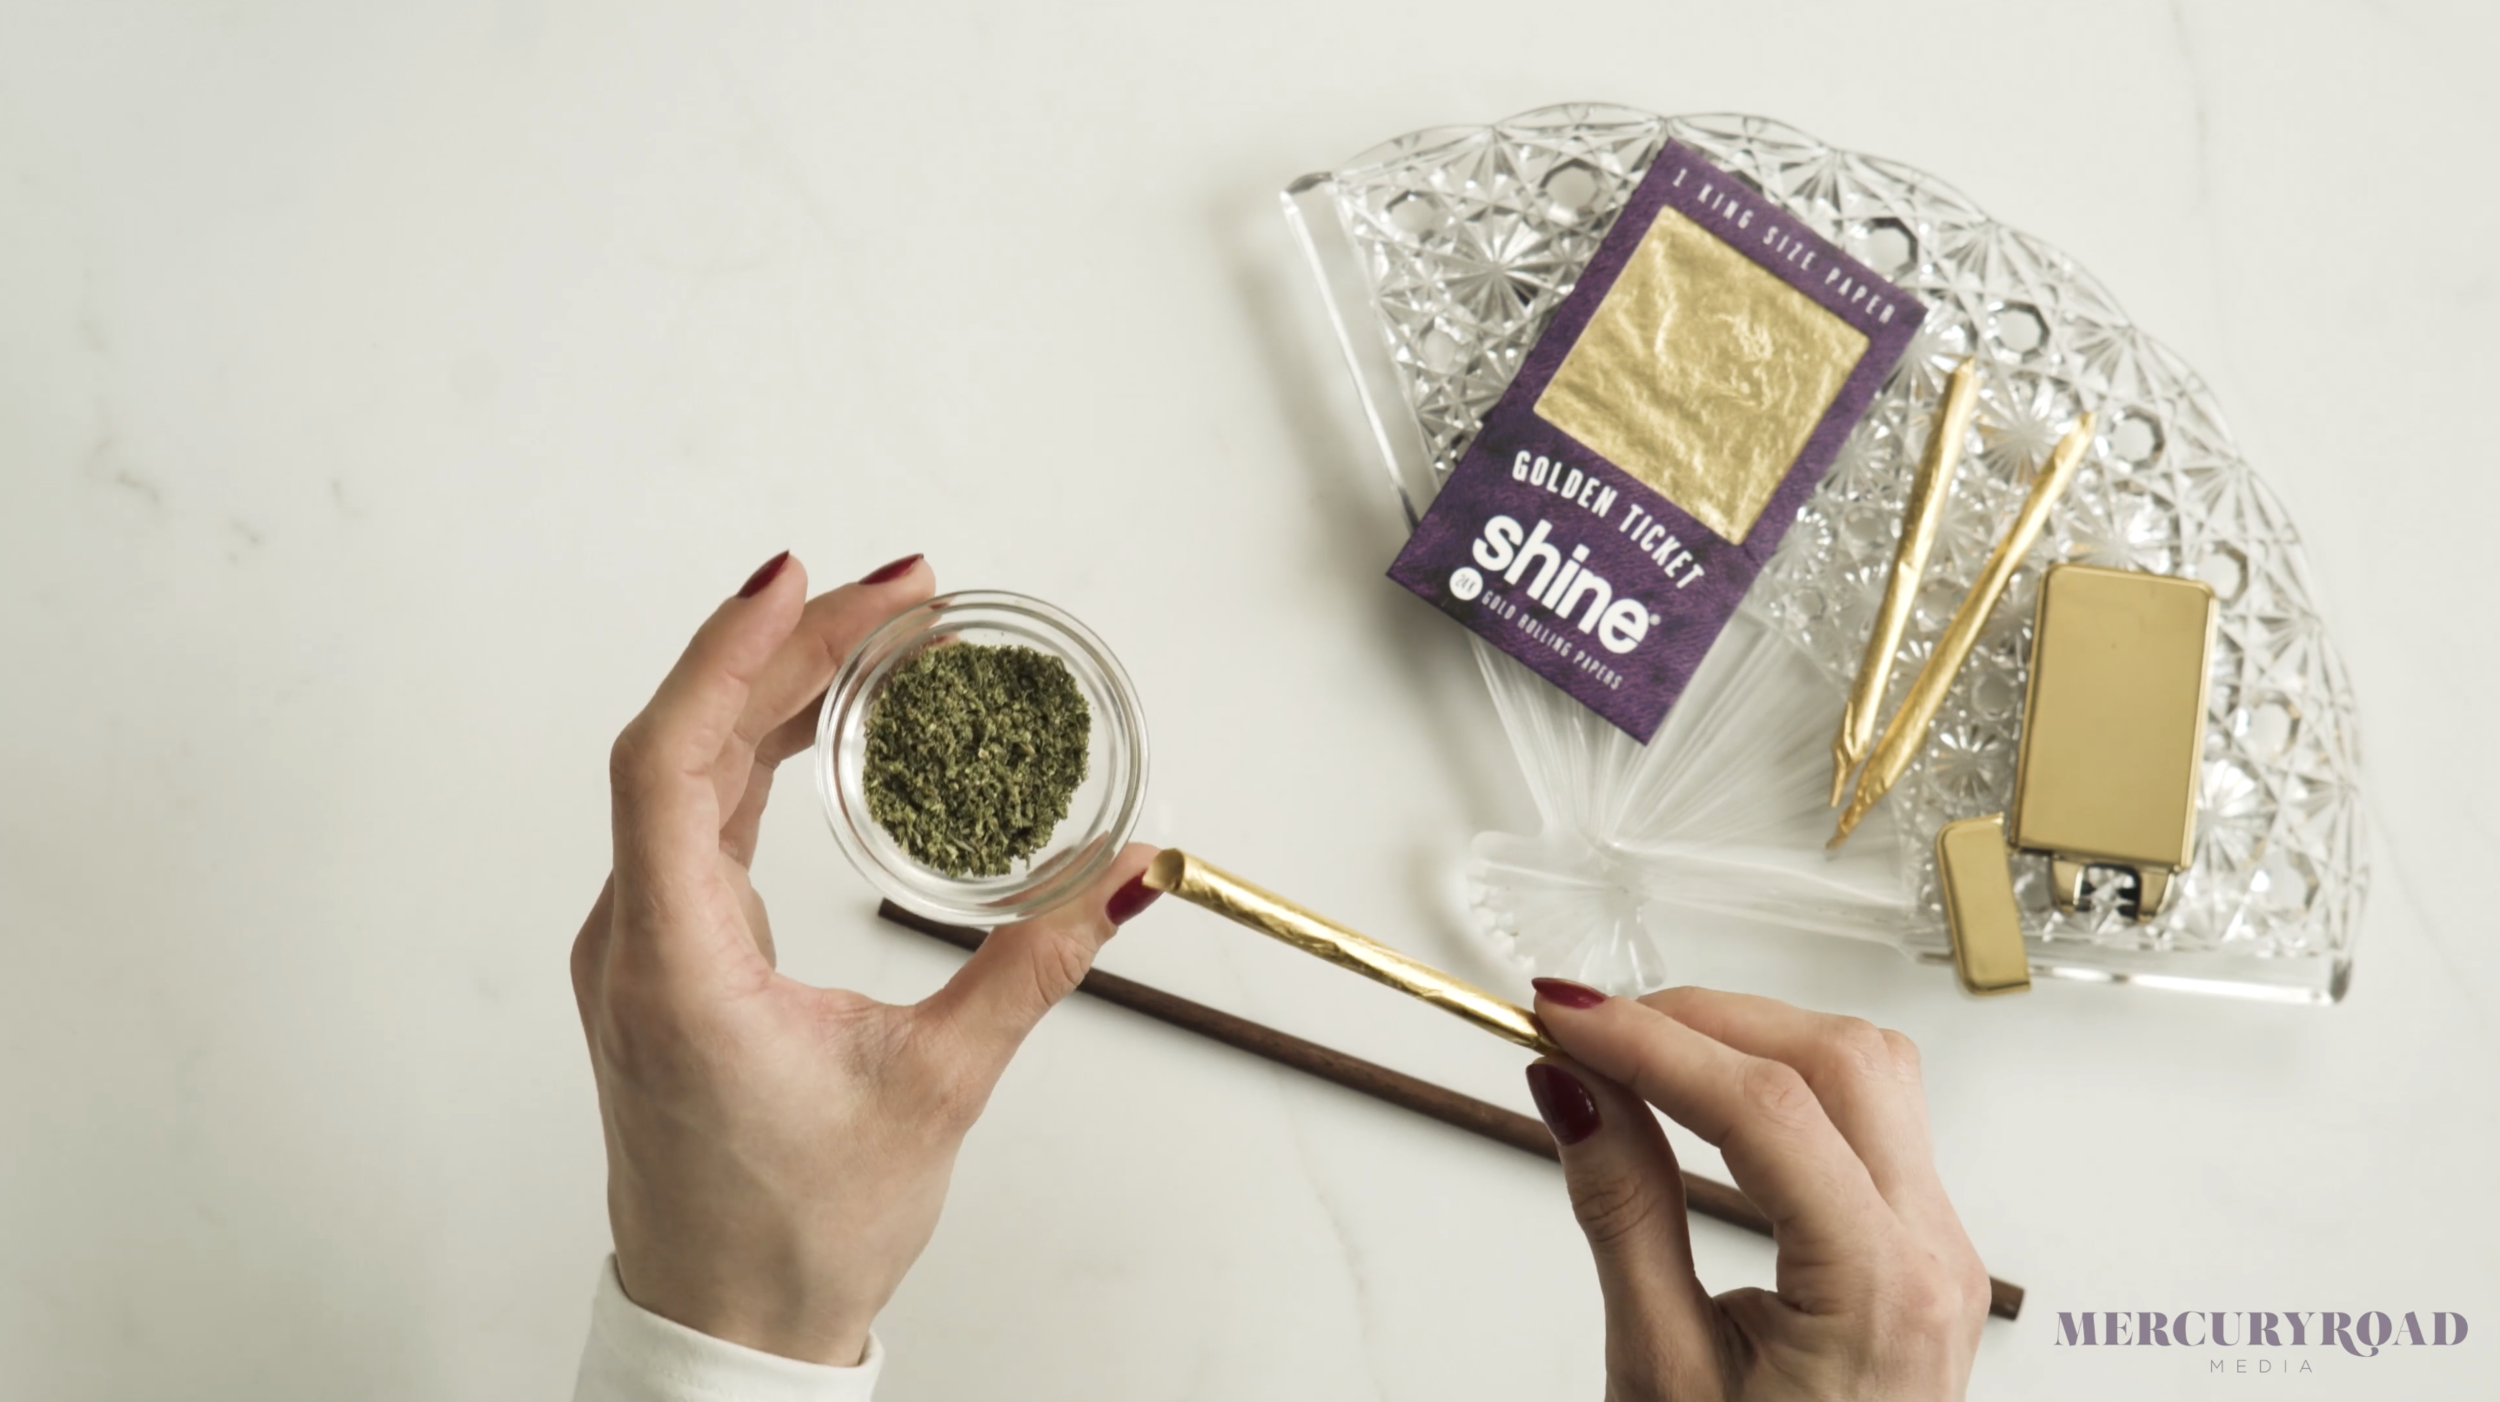
6. Fill the joint with weed, again using the chopstick and roll the ends and voila! You have yourself a chopstick-joint.
Video Tutorial
You can watch the full video below!
Still Having Trouble Rolling a Joint?
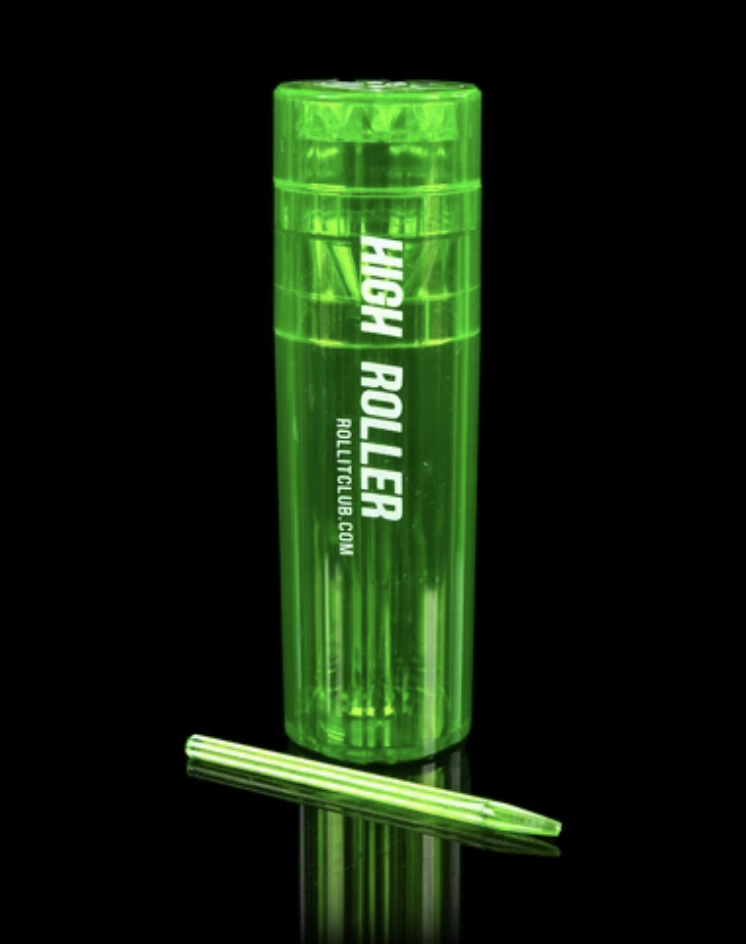
You might want to try this grinder + cone filler. This two-in-one tool features a grinder with a magnetically sealed lid and sharp teeth for an effortless grinding action. The grinder is triple polished and scratch resistant. It's also transparent, so you can see the process as it happens.
The grinder has built-in storage with an air-tight seal to trap odors and keep your herbs fresh.
But the best part? The CONE FILLER. That’s right, instead of having to roll your own, you can fill up beautifully pre-rolled cones with your green. The included cone filler and packer allow you to quickly and neatly load your cones.
Available in multiple colors, this set is a perfect pick for every dry herb enthusiast.
Now that you know how to roll a joint, what are you going to smoke?
Try this Low-THC, High CBD weed that you can have delivered to your door and read more about how to have a perfect first time experience with cannabis.


Join us on a journey through the fascinating history of 420, the beloved stoner holiday. Learn about its origins, uncover the best weed gifts for your favorite bud, and explore unique weed accessories and novelties to make your 420 celebration truly unforgettable.